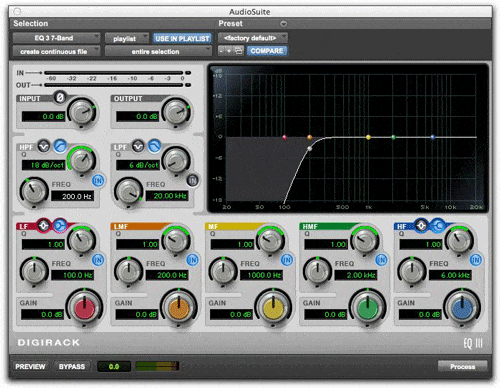
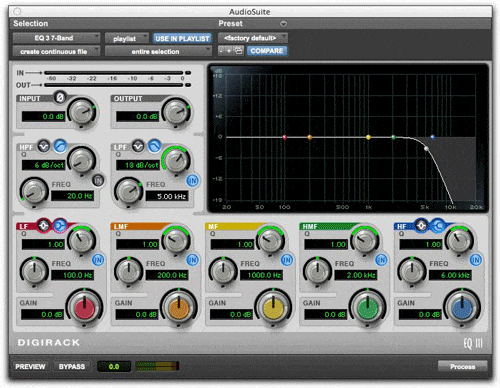
When starting a mix, it’s probably the first plug-in I use in the chain. It’s such a basic tool, but applying an EQ filter to a track can be a powerful technique to gain clarity and definition in your mixes. Many instruments and sounds have conflicting frequencies and compete with each other for sonic space. Great mixes have clear, defined ranges of instruments in the low, mid and high frequencies. The filter allows you to remove undesired frequencies in one instrument which in turn allows others to speak.

Traditional use of a filter would be to cut out low end stage rumble on a live concert recording, or maybe to remove high frequency noise on a guitar. But taken a step further, you can carve out areas in your mix to enhance clarity by using either a high-pass or low-pass filter on many of your tracks. Let’s say you have 12 tracks of backing vocals. Removing the low frequencies from 100Hz on down, will add clarity to the bass guitar and bottom end of the track. In pop recordings, most of this low frequency range is not needed in vocal parts and only adds to making the low end of your mix muddy. Keyboards and synths are another big area that can be shaped with using just a filter.

Additionally, using a filter before any dynamic processing allows your compressor or limiter to work more efficiently. The next time you go to insert an equalizer in a channel to add something to a sound, try thinking of subtracting something first with a filter.