Archive for Credits – Page 2

In Session with Jonathan Butler

JB-Session-HOB-03

We camped out recently for the week at House of Blues Studio in Encino, California recording the new Jonathan Butler record, “Living My Dream”. Jonathan brought in his entire band along with a few guest artists. What a wonderful group of talented musicians!

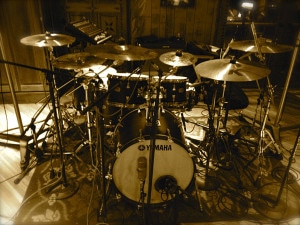
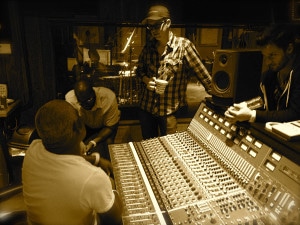
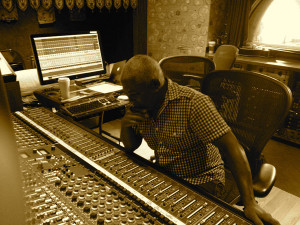
House of Blues is a great studio nestled up in the Santa Monica mountains above the San Fernando valley in southern California. The studio has a beautiful sounding 36 channel, 72 input custom, all discrete, NEVE console with a 16 channel API sidecar. The outboard gear selection offers both vintage and modern. The studio also had some of my favorite vintage Neumann microphones. It’s one of those studios where you can capture the music through a warm, vintage analog signal path into Pro Tools. Awesome!
JB-Session-HOB-01

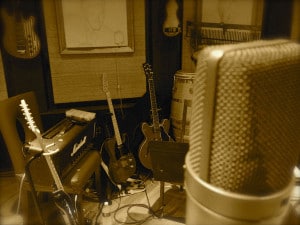
All the songs were tracked live – drums, bass, electric guitar, percussion, keyboards and of course Jonathan singing and playing guitar. I think I used every input on the NEVE and a few on the API sidecar! The studio itself had a great sound to it – very warm and natural. There is always something about the wood surfaces of a room that give different studios their character sound.
JB-Session-HOB-05

A big part of my job is setting everybody up in the studio so they are comfortable. I must make sure they’re hearing what they need to hear through the headphones, having a good line of sight with other members of the band and other things like the lights and the temperature of  the room. I really tried to make as much of a creative atmosphere as possible for Jonathan and his band.

None of this could be done without having a great assistant engineer to help me out and thankfully House of Blues provided Sada Haru to work with us. The sessions kept all of us really busy throughout the week as we tracked and overdubbed 13 songs.
JB-Session-HOB-02

I’ll be mixing the record at my studio, Red Note, this fall with a 2014 release on Mack Ave. Records.
JB-Session-HOB-06

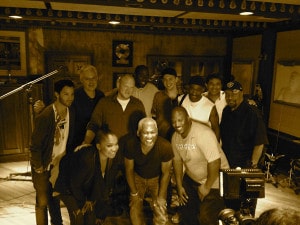
Pictured here is Jonathan’s band with guest artist/co-song writer Marcus Miller and the legendary George Duke. George co-wrote one of the songs with Jonathan and came in to play on the track during the week we were at House of Blues. Sadly, George died a few months after this recording session. Rest in Peace George, you are missed.
Recording Horns

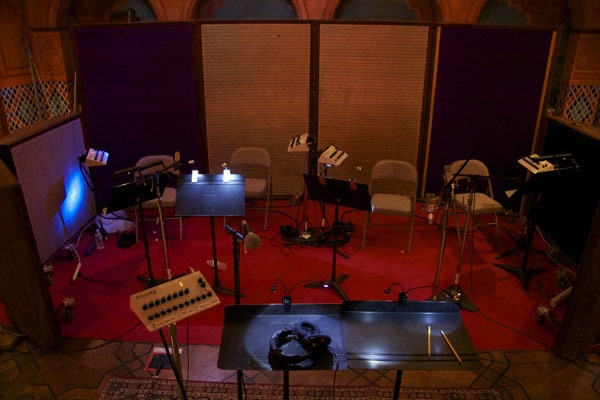
When working with Earth, Wind & Fire, they’re called horns. When I worked with the band Chicago, they’re called the brass – go figure. Regardless, recording horns in the studio can be a challenge. Like all good sounding recordings you start with the room the musicians are in. After all, the room will be part of the sound of the instrument as notes make there way from the trumpets, trombones or saxes to your microphone. Remember that horn players can really produce some serious volume depending on the track and arrangement type.

Some players will want to stand while playing while others will want to sit. Just make sure you arrange your recording space so that it’s nice and comfortable for the players. Usually I’ll put a few gobo’s around along with a nice big rug on the floor. Also, be aware that squeezing in the chairs, the microphones on their stands along with music stands can be quite a challenge. You have to get creative here, but it’s best to check with the players if the setup is comfortable for them. It’s also a good idea to give the conductor or arranger his own talkback mic as he will be positioned in front of the players. From my experience, if you’re working on a track where the players are really blowin’, your horn mic’s gain will be potted way down, so you won’t be able to hear your arranger through those horn mic’s that may be only a few feet away.

So, let’s talk microphones. Whatever you do, whatever you may think, if you are going to be recording horns in a studio I highly recommend using Royer microphones. At least on the trumpets. They are absolutely incredible. They are ribbon mic’s that are warm and fat and can handle very high SPL. Drop these on your trumpets, maybe a 414, 89 or TLM 170 on the rest of your section and you’re in business.

Remember to keep the mic’s back a good foot or two to get some air between the  bell of the horns and the mic (this is where having a good room comes into play) as the farther back you pull the mic’s from the instrument the more room sound will be in your recording – which is not necessarily a bad thing. Depending on the production, you may want a tighter sound (mic’s a little closer) vs. a little wider sound with the mic’s further back. Whatever you do – don’t get them too close!

So if you’re calling them horns or brass, you can’t go wrong with a couple of Royer 121’s a good sounding room and of course a great arrang

Mixing Technique: Filtering

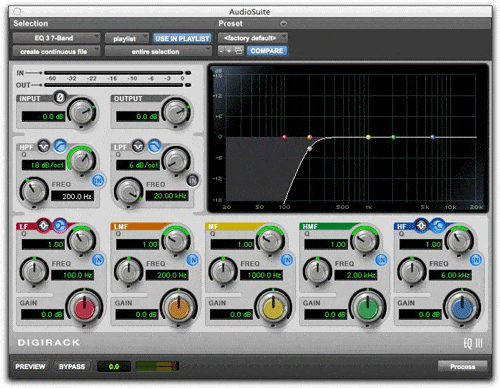
When starting a mix, it’s probably the first plug-in I use in the chain. It’s such a basic tool, but applying an EQ filter to a track can be a powerful technique to gain clarity and definition in your mixes. Many instruments and sounds have conflicting frequencies and compete with each other for sonic space. Great mixes have clear, defined ranges of instruments in the low, mid and high frequencies. The filter allows you to remove undesired frequencies in one instrument which in turn allows others to speak.

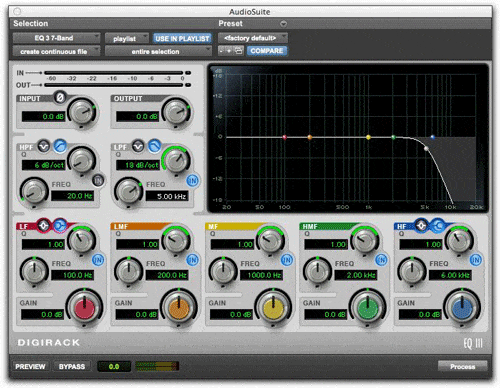
ProTools EQ Filtering Example
High-Pass filter allowing frequencies higher than 200Hz to pass

Traditional use of a filter would be to cut out low end stage rumble on a live concert recording, or maybe to remove high frequency noise on a guitar. But taken a step further, you can carve out areas in your mix to enhance clarity by using either a high-pass or low-pass filter on many of your tracks. Let’s say you have 12 tracks of backing vocals. Removing the low frequencies from 100Hz on down, will add clarity to the bass guitar and bottom end of the track. In pop recordings, most of this low frequency range is not needed in vocal parts and only adds to making the low end of your mix muddy. Keyboards and synths are another big area that can be shaped with using just a filter.

ProTools EQ Filtering Example
Low-Pass filter allowing everything below 5,000kHz to pass

Additionally, using a filter before any dynamic processing allows your compressor or limiter to work more efficiently.  The next time you go to insert an equalizer in a channel to add something to a sound, try thinking of subtracting something first with a filter.